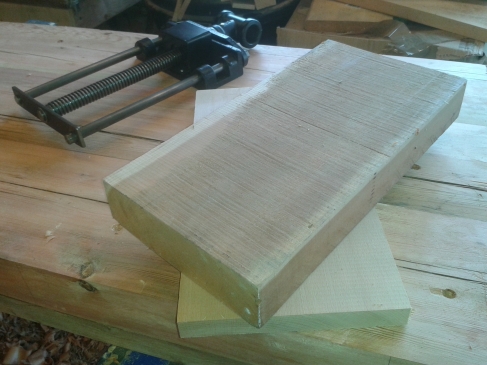
A couple of years ago, when I was demolishing my old shed, I salvaged the main beam (seen here at the top of the picture) with a view to making a bench top with it. It was the only piece of wood from the old shed that I kept, and it measured about 8½” by 3″ by 15′.
 I cut it up into three 5′ lengths and kept them tucked away in the new workshop until I had scratched together enough wood to complete the project.
 So, the first job was to haul them out and dress them up a bit. I established a reference face and edge, and opposite edges for all of them before glueing them edges to edge. This left me with a reasonable sized slab, but not quite thick enough.
A few months ago, I got hold of an elm coffee table from a house clearance – 23″ wide, 1½” thick and 5½’ long. I flattened the top of the slab, and the bottom of the elm and laminated them. Once I had fully flattened both sides, I was left with a bench top thickness just shy of 4½”.
The next job was to remove all the nasty varnish that had been daubed all over the elm. Then I could establish a reference face and edge, and dimension the slab properly. I tried my best to get the top as flat as possible at this stage, although I know I will have to go through this process again after the bench has been constructed.
Taking advice from Christopher Schwarz, in his Workbench Design Book (hereafter to be referred to as ‘The Plans’), I decided to fit the end vice at this stage, while it was still relatively easy to work on the underside of the bench top. The vice chop is made from cherry and beech laminated together as I did not have any stock in the right dimensions.
Next up will be the legs – more lamination, more dimensioning and the chunky joinery that I had been putting off for a year.


